
Replacing a car’s thermostat isn’t typically a difficult task and certainly isn’t on a 1963 Comet (or any other inline six vehicle). In the case of our car, it was the one thing we hadn’t replaced last year when replacing the hoses and reconditioning the radiator and heater core. Well, the heater quit blowing hot and judging by the temperature gauge (which was very close, barely above, the “C” for cool), we suspected a temp gauge that was stuck open. So, first step was to drain the radiator below the level of the top radiator hose (in this case, there’s a plug on the bottom of the radiator on the passenger side, which can be loosened and tightened by hand):
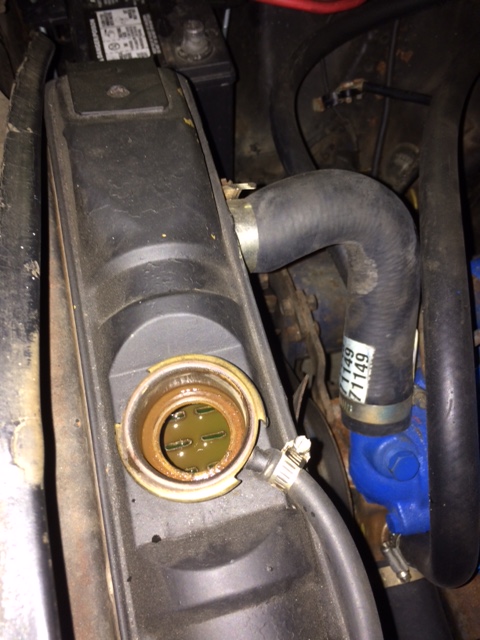
Then we disconnected the top radiator hose:

Once that is done, only two bolts have to be removed (as Micah was doing here):

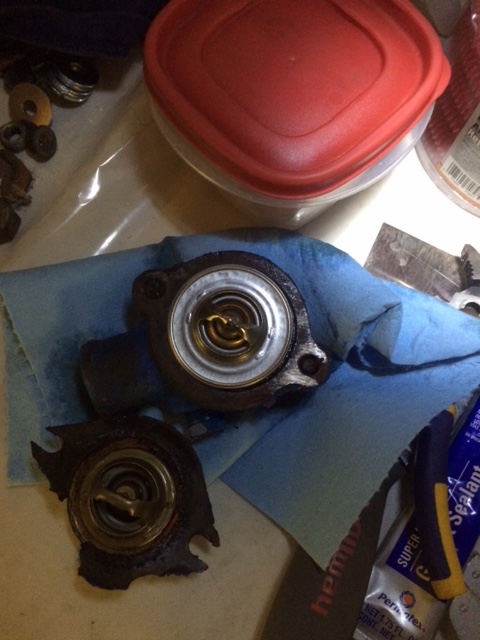
With that done, you may remove the thermostat housing. Here is a shot of the old housing with the old thermostat and gasket removed. I placed the new thermostat in there for the picture but ultimately, we replaced the housing too because the interior of the old one had a little corrosion from all those years of just sitting in that quanset). Here’s the thermostat in the housing:
Finally, we put the new housing with the new thermostat and new gasket into place and filled up the radiator:

Make sure to burp the system after filling. Our heat worked at first and then blew cold. To burp it fully, we drove it onto jack stands and ran it a while without the radiator cover on. Some rather large bubble burped up and once they were out of the system, the heat was back to working. Although not a regular driver in the winter, it’s good to know we’re well on our way to still making use of it in the fall.
